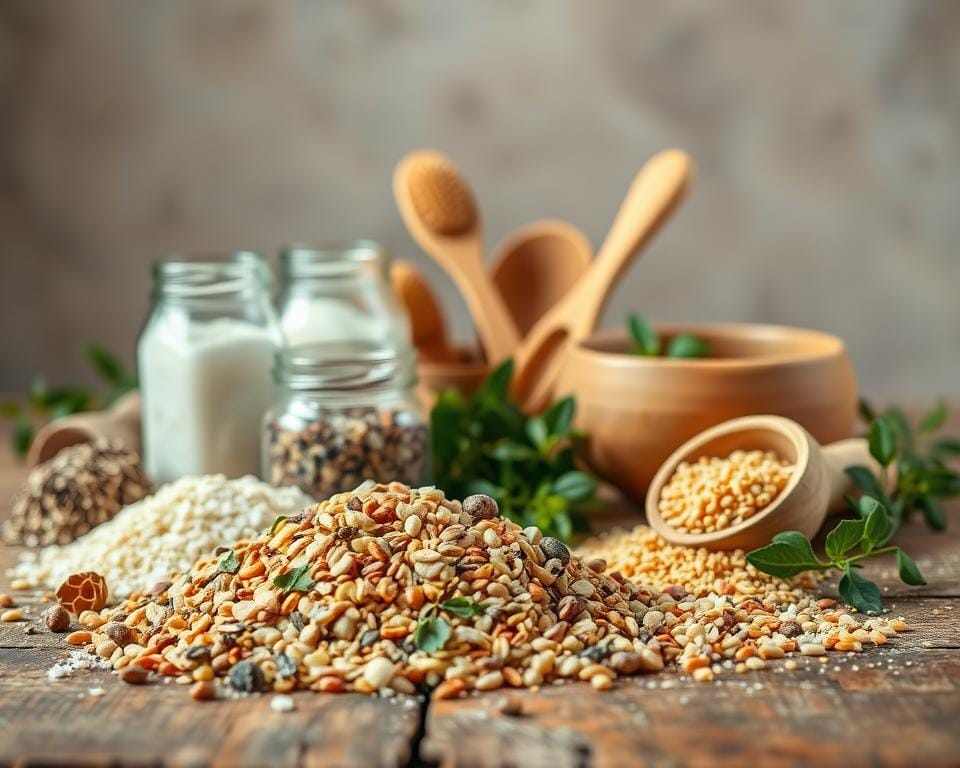
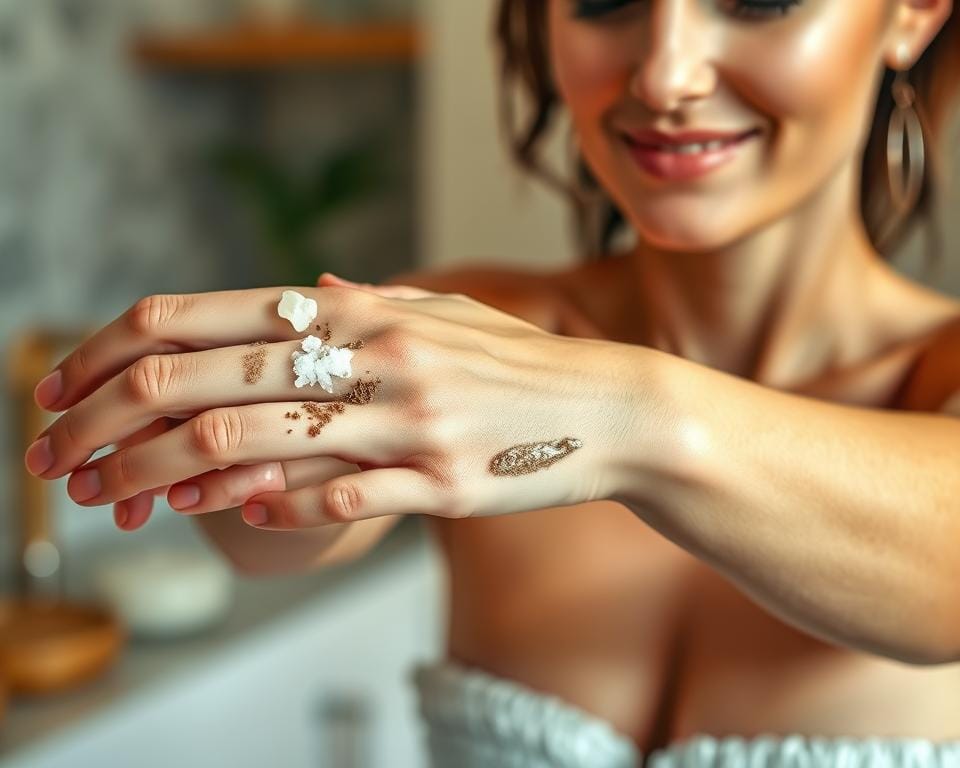
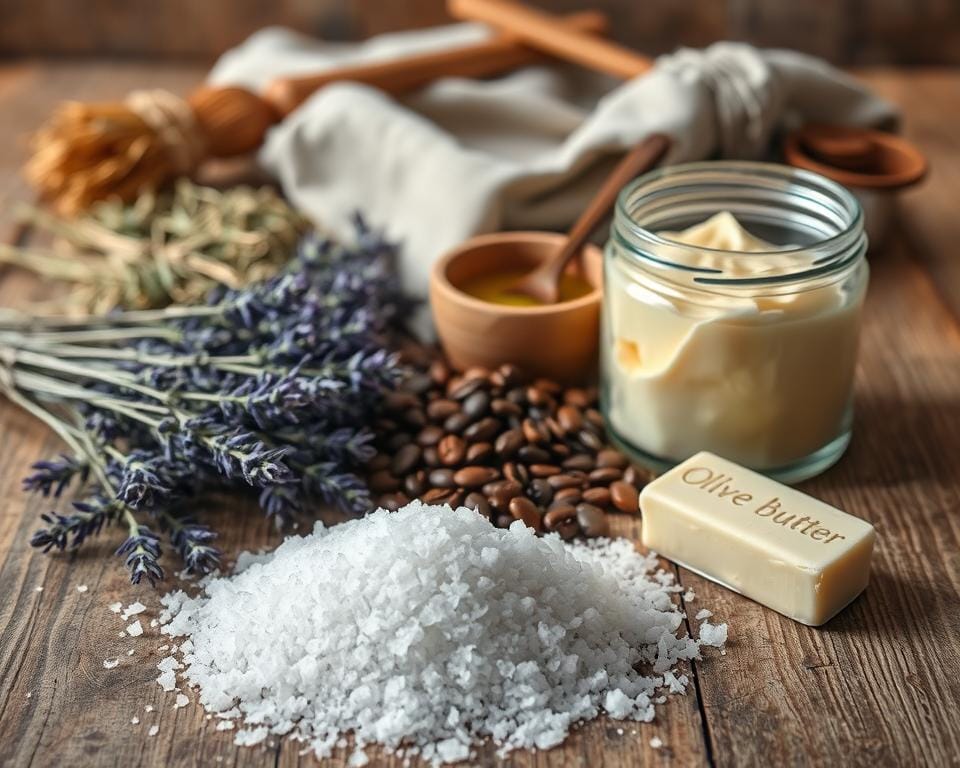
What if your kitchen held the secret to glowing skin? You’d be surprised how everyday ingredients like sugar, coconut oil, and oats can transform your skincare routine. Creating homemade scrubs isn’t just about saving pennies – it’s a chance to nourish your skin with pure, natural goodness while gently buffing away dullness.
I’ve discovered that whipping up these mixtures feels like a mini kitchen adventure. They’re perfect for tackling dead skin and revealing smoother texture, all without harsh chemicals. Plus, customising your blend means you can tweak scents and textures to suit your mood – lavender for relaxation, citrus for an energising boost.
Whether you’re planning a home spa day or simply want a weekly pamper session, these scrubs fit seamlessly into any routine. Let’s explore how to combine pantry staples into effective treatments that leave your skin radiant and refreshed.
Key Takeaways
- Common kitchen items like sugar and oils make effective, affordable exfoliators
- Regular use helps remove dead skin cells and improve texture
- Homemade blends allow complete control over ingredients and scents
- Natural scrubs can boost collagen production for healthier-looking skin
- Always patch-test new mixtures to ensure skin compatibility
- Pair with moisturising rituals for enhanced results
Benefits of Exfoliating with DIY Body Scrubs
Your skin’s radiance might be hiding in your pantry. When I started making my own exfoliators, I noticed how weekly treatments transformed my skin’s texture. Sloughing away dull layers reveals smoother, brighter skin underneath – like hitting a natural reset button.
Glow from Within
Regular buffing does more than polish your surface. Gentle circular motions stimulate collagen production, helping skin feel firmer over time. I’ve found that mixing honey into my scrubs adds moisture while calming irritation – perfect for sensitive areas like elbows or knees.
One golden rule? Keep facial treatments ultra-soft. A teaspoon of brown sugar with yoghurt works wonders, but avoid coarse blends near delicate features. Your decolletage will thank you!
Mindful Moments, Better Results
There’s something meditative about massaging warm coconut oil and sugar onto damp skin. This ritual not only melts tension but primes your skin to absorb serums or creams more effectively. Pro tip: aim for a thick paste consistency – add water sparingly until the mixture clings without dripping.
Through trial and error, I’ve learned that scrubs work best when paired with post-shower hydration. Lock in that fresh-from-the-spa feeling with a rich body butter, and watch your skin’s luminosity soar.
Essential Ingredients and Tools for a Perfect Scrub
Creating luxurious treatments starts with understanding your core components. Over time, I’ve learned that successful blends rely on three elements: carrier oils, exfoliants, and simple kitchen gear. Let’s break down what works – and why.

Choosing the Right Oils and Sugars
Not all oils play nicely with every skin type. Coconut oil remains a crowd-pleaser for dry patches, but almond or jojoba might suit oilier complexions better. I always keep a bottle of grapeseed oil handy – its lightweight texture mixes beautifully with coarser sugars.
For exfoliation, brown sugar’s fine grains work wonders on delicate areas like wrists or ankles. Need something gentler? Try blending caster sugar with oats. The key is balancing abrasiveness: you want to slough off dead skin cells without scratching healthy layers.
Gathering Your Kitchen Essentials
You’ll need basic tools most people already own. A sturdy mixing bowl and measuring spoons ensure consistent textures – aim for a thick paste that holds its shape. Glass jars with airtight lids keep mixtures fresh for weeks.
One trick I’ve picked up: test your blend’s consistency by rubbing a small amount between damp fingers. If it feels gritty but not harsh, you’ve nailed it. Remember, the best body scrubs glide smoothly while delivering just enough friction to reveal fresher skin.
Easy DIY Body Scrub Recipes
Your morning cuppa might hold more than caffeine magic. Through kitchen experiments, I’ve perfected blends that turn everyday ingredients into spa-worthy treatments. Let’s dive into my favourite combinations for different skin needs.
Coffee and Coconut Oil Wake-Up Blend
This energising mix became my go-to for pre-workout showers. Combine 1 cup used coffee grounds with ½ cup melted coconut oil. Add 2 tbsp honey and a splash of warm water until it resembles wet sand. The grounds’ texture helps smooth stubborn areas while the caffeine temporarily tightens skin.
| Ingredient | Quantity | Purpose |
|---|---|---|
| Coffee grounds | 1 cup | Exfoliates + stimulates circulation |
| Coconut oil | ½ cup | Moisturises |
| Honey | 2 tbsp | Antibacterial properties |
Gentle Brown Sugar Mix for Delicate Areas
For my reactive skin days, I mix ¾ cup brown sugar with ¼ cup fine sea salt. Melt ⅓ cup almond oil and stir in 1 tsp vanilla extract. The sugar dissolves gradually, making it kinder than harsher exfoliants. Always test new blends on your inner wrist first!
| Step | Action | Tip |
|---|---|---|
| 1 | Combine dry ingredients | Use organic where possible |
| 2 | Slowly add warm oil | Adjust consistency with oil |
| 3 | Store in glass jar | Keeps for 3 weeks chilled |
Through trial and error, I’ve found these ratios prevent messy drips. Avoid applying near cuts or fresh sunburn – that sting isn’t worth it! Leftovers keep best in the fridge with a tight lid. Your future glowing skin self will thank you.
Techniques for Effective Exfoliation
The secret to glowing skin isn’t just what you mix – it’s how you apply it. Over months of testing, I’ve discovered that technique matters as much as ingredients. Get this right, and you’ll slough off skin cells without compromising your skin’s natural barrier.
Application Tips for Use in the Shower
Start with damp (not soaking) skin. Scoop a palm-sized amount and massage upwards using light pressure. Focus on rough patches like knees, but avoid scrubbing the same spot repeatedly. Circular motions work best – imagine polishing delicate china rather than scouring a pan.

Rinse thoroughly with lukewarm water. Any residue? That’s your cue to use less oil next time. For sensitive areas, I dilute blends with a teaspoon of water to reduce friction. Three minutes max – longer isn’t better when removing dead skin cells.
Maintaining the Ideal Consistency
Your scrub should cling like moist sand, not slide off or crumble. My golden ratio: 2 parts exfoliant to 1 part coconut oil. Too dry? Add oil drop by drop. Too slick? Mix in more sugar or grounds. Always stir thoroughly – uneven blends create harsh pockets.
Adjust based on your skin’s needs. Oily types might prefer grapeseed oil instead of richer options. If using coffee, ensure grounds are finely ground to prevent scratches. Store mixtures in cool places to preserve consistency between uses.
Personalising Your Natural Scrub Experience
Ever thought your shower gel could moonlight as a perfume? That’s the magic of custom blends. My bathroom shelf now resembles a mad scientist’s lab – tiny bottles of jojoba oil jostling with rosemary extracts and citrus zests. This is where practicality meets playfulness.
Enhancing with Essential Oils and Custom Additives
Start with your base oil – olive works brilliantly for dry skin, while jojoba balances oilier types. Last week, I mixed three drops of peppermint into my coffee grounds scrub. The tingle woke me up better than my morning espresso!
Quality matters. I stick to reputable brands for essential oils – diluted blends can irritate. Always do a patch test: dab a coin-sized amount behind your ear and wait 24 hours. Trust me, that precaution saved my shoulders from a lavender-induced rash once.
For texture tweaks, try these combos:
| Additive | Benefit | Best Paired With |
|---|---|---|
| Citrus zest | Brightens skin | Brown sugar1 |
| Ground oats | Softens scrub | Jojoba oil |
| Matcha powder | Antioxidant boost |
My current favourite? A caffeine-charged mix of used coffee grounds, grapeseed oil, and a whisper of cinnamon. It’s become my Sunday night ritual – the scent alone signals relaxation mode. Remember, even small swaps create noticeable differences. Your perfect blend might be one experiment away!
Conclusion
Your bathroom routine might just need a sprinkle of kitchen magic. Through crafting these blends, I’ve realised how everyday items like lemon zest or coarse sugar can revive tired hands and soften rough patches. Regular buffing doesn’t just whisk away dead cells – it’s a ritual that celebrates your skin’s natural glow.
The benefits go beyond surface-level beauty. Homemade mixes let you control quality, avoiding mystery additives. Those simple recipes we’ve explored? They prove effective treatments don’t require fancy packaging or hefty price tags.
Remember to tweak blends for your skin’s quirks – maybe add more oil for drier areas or reduce citrus in sensitive zones. Always test new mixes on small patches first. Your elbows and knees will thank you for that extra lemon-infused attention!
Thanks for letting me share this skincare journey. Here’s to discovering your perfect mix – where self-care meets clever pantry raids. When you nurture your skin with thoughtful ingredients, confidence becomes your best accessory.

