There’s something magical about the aroma of spices mingling with strong tea – especially when it’s baked into a loaf of traditional Welsh Bara Brith. If you’ve ever craved a slice of this fruit-studded tea bread but felt daunted by complicated methods, I’ve got good news. My version cuts through the fuss while keeping all the cosy flavours that make this treat a staple in Welsh kitchens.
I fell in love with Bara Brith during a rainy afternoon in a Carmarthenshire café. Determined to recreate that sticky, spiced goodness at home, I’ve perfected a one-bowl method that even baking novices can nail. The secret? Letting plump dried fruit soak overnight in builder’s-strength tea – trust me, it’s worth the wait. We’ll walk through every step together, from measuring your mixed spice to that glorious moment when your kitchen smells like a Welsh grandmother’s Sunday bake.
Key Takeaways
- Traditional Welsh tea bread made approachable with a simplified method
- Overnight soaking in hot tea ensures moist, flavourful results
- Perfect for beginners – no specialist equipment required
- Detailed guidance on balancing spices and sweetness
- Uses common pantry staples like brown sugar and mixed spice
- Ideal for elevenses or as a thoughtful homemade gift
Understanding the Welsh Tradition Behind Bara Brith
Steeped in Welsh heritage, Bara Brith carries stories of generations in every slice. This humble bake began as a thrifty way to use leftover fruit and tea, evolving into a symbol of hospitality. My first encounter with it wasn’t in a recipe book – it was at a bustling market in Swansea, where a vendor insisted I try it “properly” slathered with salted butter.
From farmhouse kitchens to modern tables
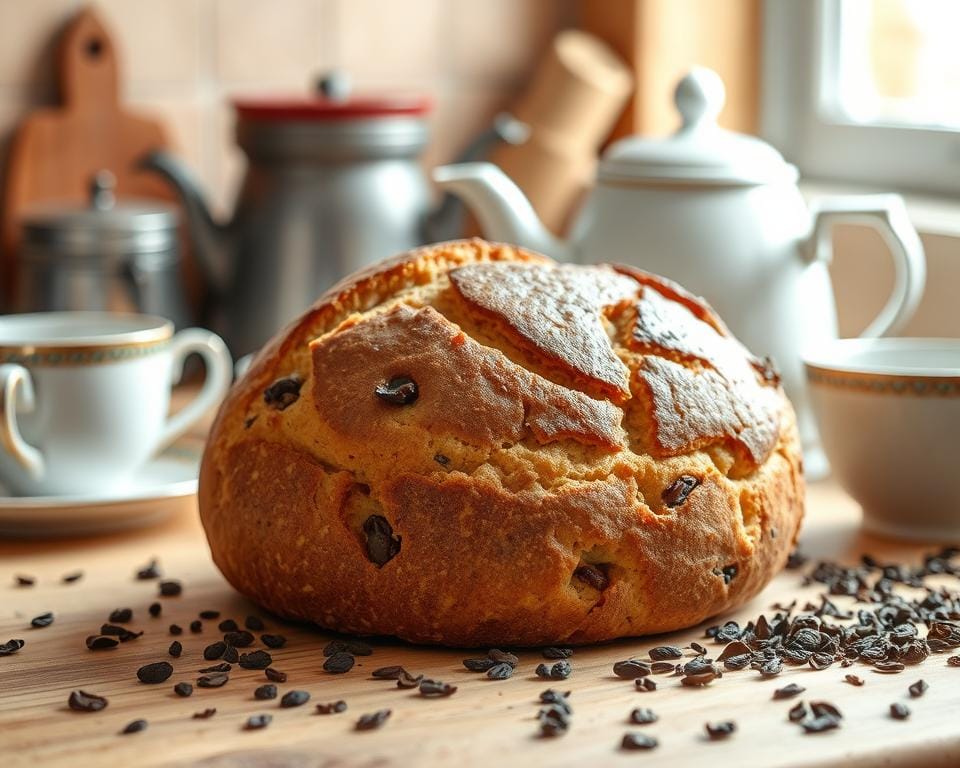
The name translates to ‘speckled bread’ – a nod to the fruit-studded crumb that defines this beloved bake. Originally leavened with yeast, today’s versions often use self-raising flour for convenience. What hasn’t changed? That distinctive marbled appearance from hours of fruit soaking, creating pockets of sweetness in every mouthful.
Why this loaf still wins hearts
There’s genius in its adaptability. Grandmothers might swear by their secret spice blend, while new bakers appreciate the forgiving one-bowl method. I’ve found it’s the contrast of sticky fruit against spiced batter that makes people reach for seconds. Whether served in a ceramic tin at village fairs or baked in a modern loaf pan for school lunches, it bridges generations effortlessly.
What truly endures is how each bite feels like an edible hug – warm, familiar, and steeped in story. That’s the magic no modern twist can replicate.
Essential Ingredients and Preparations
The soul of a proper Bara Brith lies in its humble components. After testing countless variations, I’ve learned that ingredient quality directly impacts that signature sticky crumb. Let’s unpack what you’ll need before preheating the oven.

Selecting quality dried fruit and spices
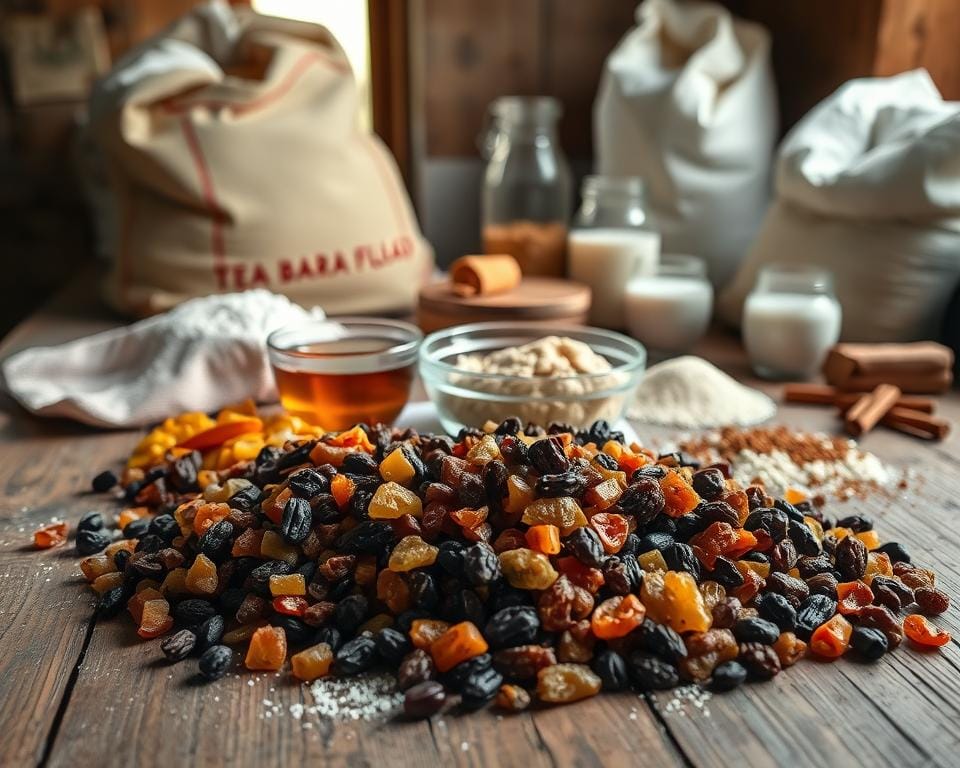
Skip the dusty supermarket raisins. Seek plump currants, juicy sultanas, and tangy mixed peel – their texture transforms during soaking. My local greengrocer’s luxury dried fruit mix works wonders here. For spices, a balanced blend of cinnamon, nutmeg, and allspice creates warmth without overpowering. Store-bought mixed spice works, but grinding whole spices elevates the aroma.
Soaking the fruit in strong, hot tea
Here’s where the magic begins. Use two builder’s-strength tea bags in 300ml boiling water – it should look like liquid treacle. Pour this over 400g of dried fruit and 100g dark muscovado sugar. The sugar’s molasses notes deepen overnight, while the tea plumps the fruit into jammy gems.
Patience pays dividends here. Cover the bowl tightly and let it steep for at least 8 hours. I often prepare mine before bed – waking to boozy-smelling fruit feels like Christmas morning. This step ensures every slice stays moist for days, no fancy equipment required.
When you’re ready to bake, just stir in flour, egg, and melted butter. The batter comes together in minutes, proving that great bread starts with thoughtful prep.
Simple Bara Brith Recipe
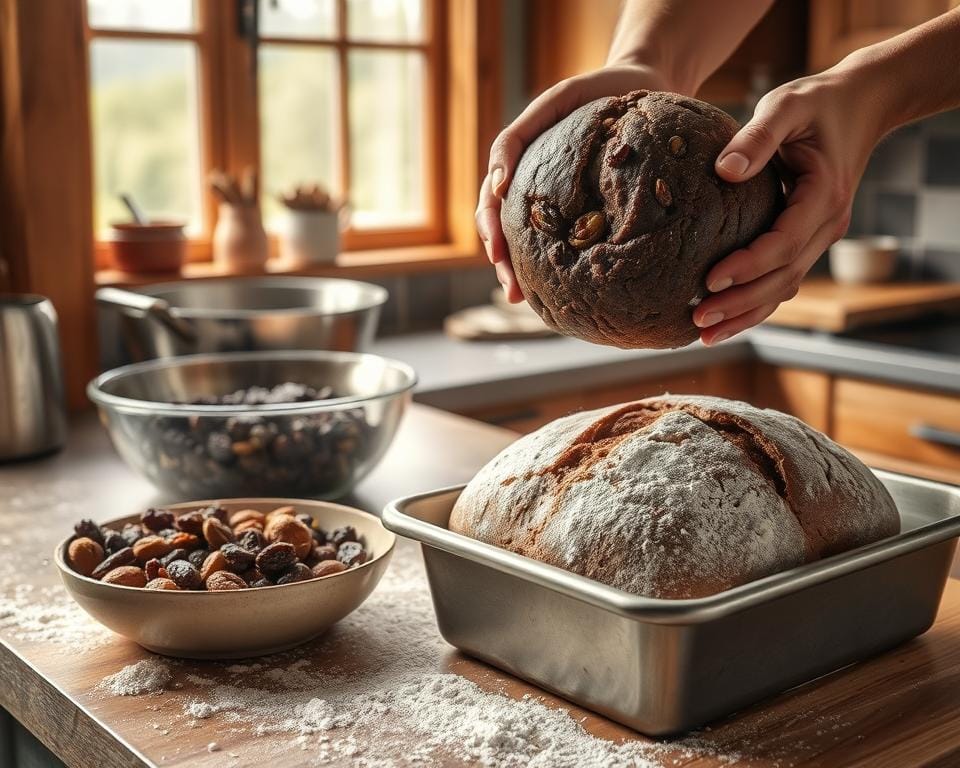
Let’s get hands-on with the magic moment – transforming that tea-soaked fruit into a golden loaf. The key here is gentle handling. Start by sifting 225g self-raising flour and 1 tsp baking powder into your steeped fruit mixture. Use a wooden spoon to fold until just combined – overworking the batter leads to tough crumbs.
Mixing the ingredients with care
In a separate container, beat one large egg with 50g melted butter. Pour this into your main bowl through a cup to prevent splashing. The liquid should ribbon off your whisk – that’s when you know it’s emulsified properly. Stir everything until no dry patches remain, but don’t stress about a few lumps. They’ll hydrate during baking.
Optimising flavour with a sticky tea glaze
Once baked, pierce the warm loaf’s top with a skewer and brush generously with reserved soaking liquid or runny honey. This creates that signature glossy finish while locking in moisture. I keep a small jug of the glaze handy for reapplying as it cools – the loaf drinks it up like a sponge.
Transfer to a wire rack using oven gloves, and resist slicing for at least two hours. The wait allows flavours to meld beautifully. Trust me, that first buttered slice with a cuppa makes the patience worthwhile. You’ve just mastered a centuries-old tradition – and it only took one bowl!
Step-by-Step Baking Process
The moment your kitchen fills with the scent of baking spices marks the start of something special. Let’s transform that tea-soaked mixture into a golden loaf worthy of any Welsh tea table. Precision here makes the difference between good and exceptional results.

Setting the correct oven temperature
Begin by preheating your oven to 160°C (140°C fan)/325°F. I always use an oven thermometer – dials can lie! Grease a 900g loaf tin thoroughly with butter, paying extra attention to the corners. This prevents sticking and ensures even rising.
Gently fold 225g plain flour and 1 tsp baking powder into your soaked ingredients. The mixture should plop off the spoon slowly. Pour it into your prepared tin, smoothing the top with a damp knife. Don’t tap the tin – we want those air bubbles intact.
Bake for 1 hour 15 minutes, but start checking at 55 minutes. The top should spring back when pressed, and a skewer inserted near the centre must come out clean. If it browns too quickly, tent with foil.
Transfer the loaf to a cooling rack immediately. Brush warm glaze over the top using a pastry brush – it’ll soak in better. Let it cool completely before slicing. Store leftovers in an airtight container, though I doubt there’ll be any!
Follow these steps precisely, and you’ll achieve that signature moist crumb and caramelised crust. Perfect for elevenses the next day, especially with a dollop of clotted cream.
Tips and Tricks for a Perfect Fruit Loaf
A few clever tweaks can elevate your fruit loaf from good to glorious. Through trial and error in my own kitchen, I’ve discovered small adjustments that make all the difference between a decent bake and one that’ll have friends begging for your secret.
Ensuring moistness and even baking
Timing is everything. Start testing with a skewer at the 55-minute mark – if it comes out sticky, give it 5 more minutes. Repeat until clean. This prevents dry edges while ensuring the centre cooks through.
If the top browns too quickly, fashion a foil ‘hat’. Loosely tent it over the loaf without touching the surface. This lets heat circulate while shielding the crust from burning.
Always line your tin with baking paper. It prevents sticking and makes lifting the loaf effortless. Let it cool completely in the tin – rushing this step leads to crumbly slices.
Here’s my golden rule: use room temperature egg. Cold eggs seize up the batter, creating dense patches. For even mixing, sift flour and baking powder together before adding.
Fold ingredients gently until just combined. Overworking activates gluten, making the texture tough. A few lumps are fine – they’ll disappear during baking.
Don’t be afraid to tweak recipes. Add orange zest for brightness or swap sultanas for dried cherries. The best bakes reflect personal taste.
Finally, store your Bara Brith in an airtight container with a slice of bread. The bread hardens while the loaf stays moist for days. Genius, right?
Making Ahead and Storing Your Bara Brith
The real magic of this loaf reveals itself after baking. Through trial and error, I’ve discovered storage methods that preserve its sticky crumb and complex spices. Let me share techniques that keep every slice tasting freshly baked.
Storing tips for prolonged freshness
Once completely cool, wrap your creation in baking paper followed by foil. This double layer locks in moisture while letting the spices mellow beautifully. Pop it into an airtight container – I’ve found old biscuit tins work a treat.
Here’s a secret: the flavour improves overnight. Those plump dried mixed fruit continues absorbing tea, creating deeper sweetness. For longer storage, freeze slices wrapped in cling film and foil. They’ll keep for three months – perfect for surprise visitors.
My personal hack? Rub a couple of butter pats over the crust before wrapping. It adds richness and keeps the crumb supple. If freezing, label your parcel with a skewer-poked date on the foil.
Need to refresh day-old slices? Warm them briefly in a low oven. I sometimes drizzle reserved tea from the soaking jug over the top for extra stickiness. With these tweaks, your Bara Brith stays as inviting as the day it was baked.
Conclusion
Few bakes capture warmth and tradition like a well-made Bara Brith. This Welsh classic transforms humble ingredients into something extraordinary. With just a jug of strong tea and a couple of pantry staples, you’re halfway to creating a loaf that’ll make your kitchen smell like a Carmarthenshire bakery.
Those plump dried mixed fruit soaking overnight become little flavour bombs, mingling with spices for that signature sticky crumb. A gentle mix, careful bake, and glossy finish – perfection achieved. Trust me, waiting until the next day to slice pays off as flavours deepen.
Don’t skip the skewer test – it’s key for nailing the moist centre. Whether shared at breakfast or with afternoon tea, this loaf bridges generations through every spiced bite. I’d love to see your creations! Share them online and keep Wales’ delicious heritage alive.
Now, who’s putting the kettle on?

